
Obviously I’m jumping the gun by thinking about how to decorate our new home before ground has even broken on building it, but I can’t help it! I am too excited! I have a beautiful vision for how I want our home to look and feel and that starts with the front door. Recently, I have been seeing these vertical ‘Welcome’ signs and have been wanting to find one for our front porch. Given I have months to figure that out, obviously I wanted to do it now. So I have been casually shopping around for them. The problem I kept running into was the the cost for anything close to what I was after; everything seemed so overpriced for a simple piece of wood with the word ‘Welcome’ painted on it.
Then I randomly decided ‘I’ve painted things before, why couldn’t I get a board and paint on some stencil letters??’. So I did! Best part is, I did it in under two days and for under twenty bucks! For now, it will reside in our apartment entry hall with Jedi modeling for us above.
Here’s a quick step-by-step of how I created the little ‘Welcome’ sign I was dreaming of:
Items you’ll need:

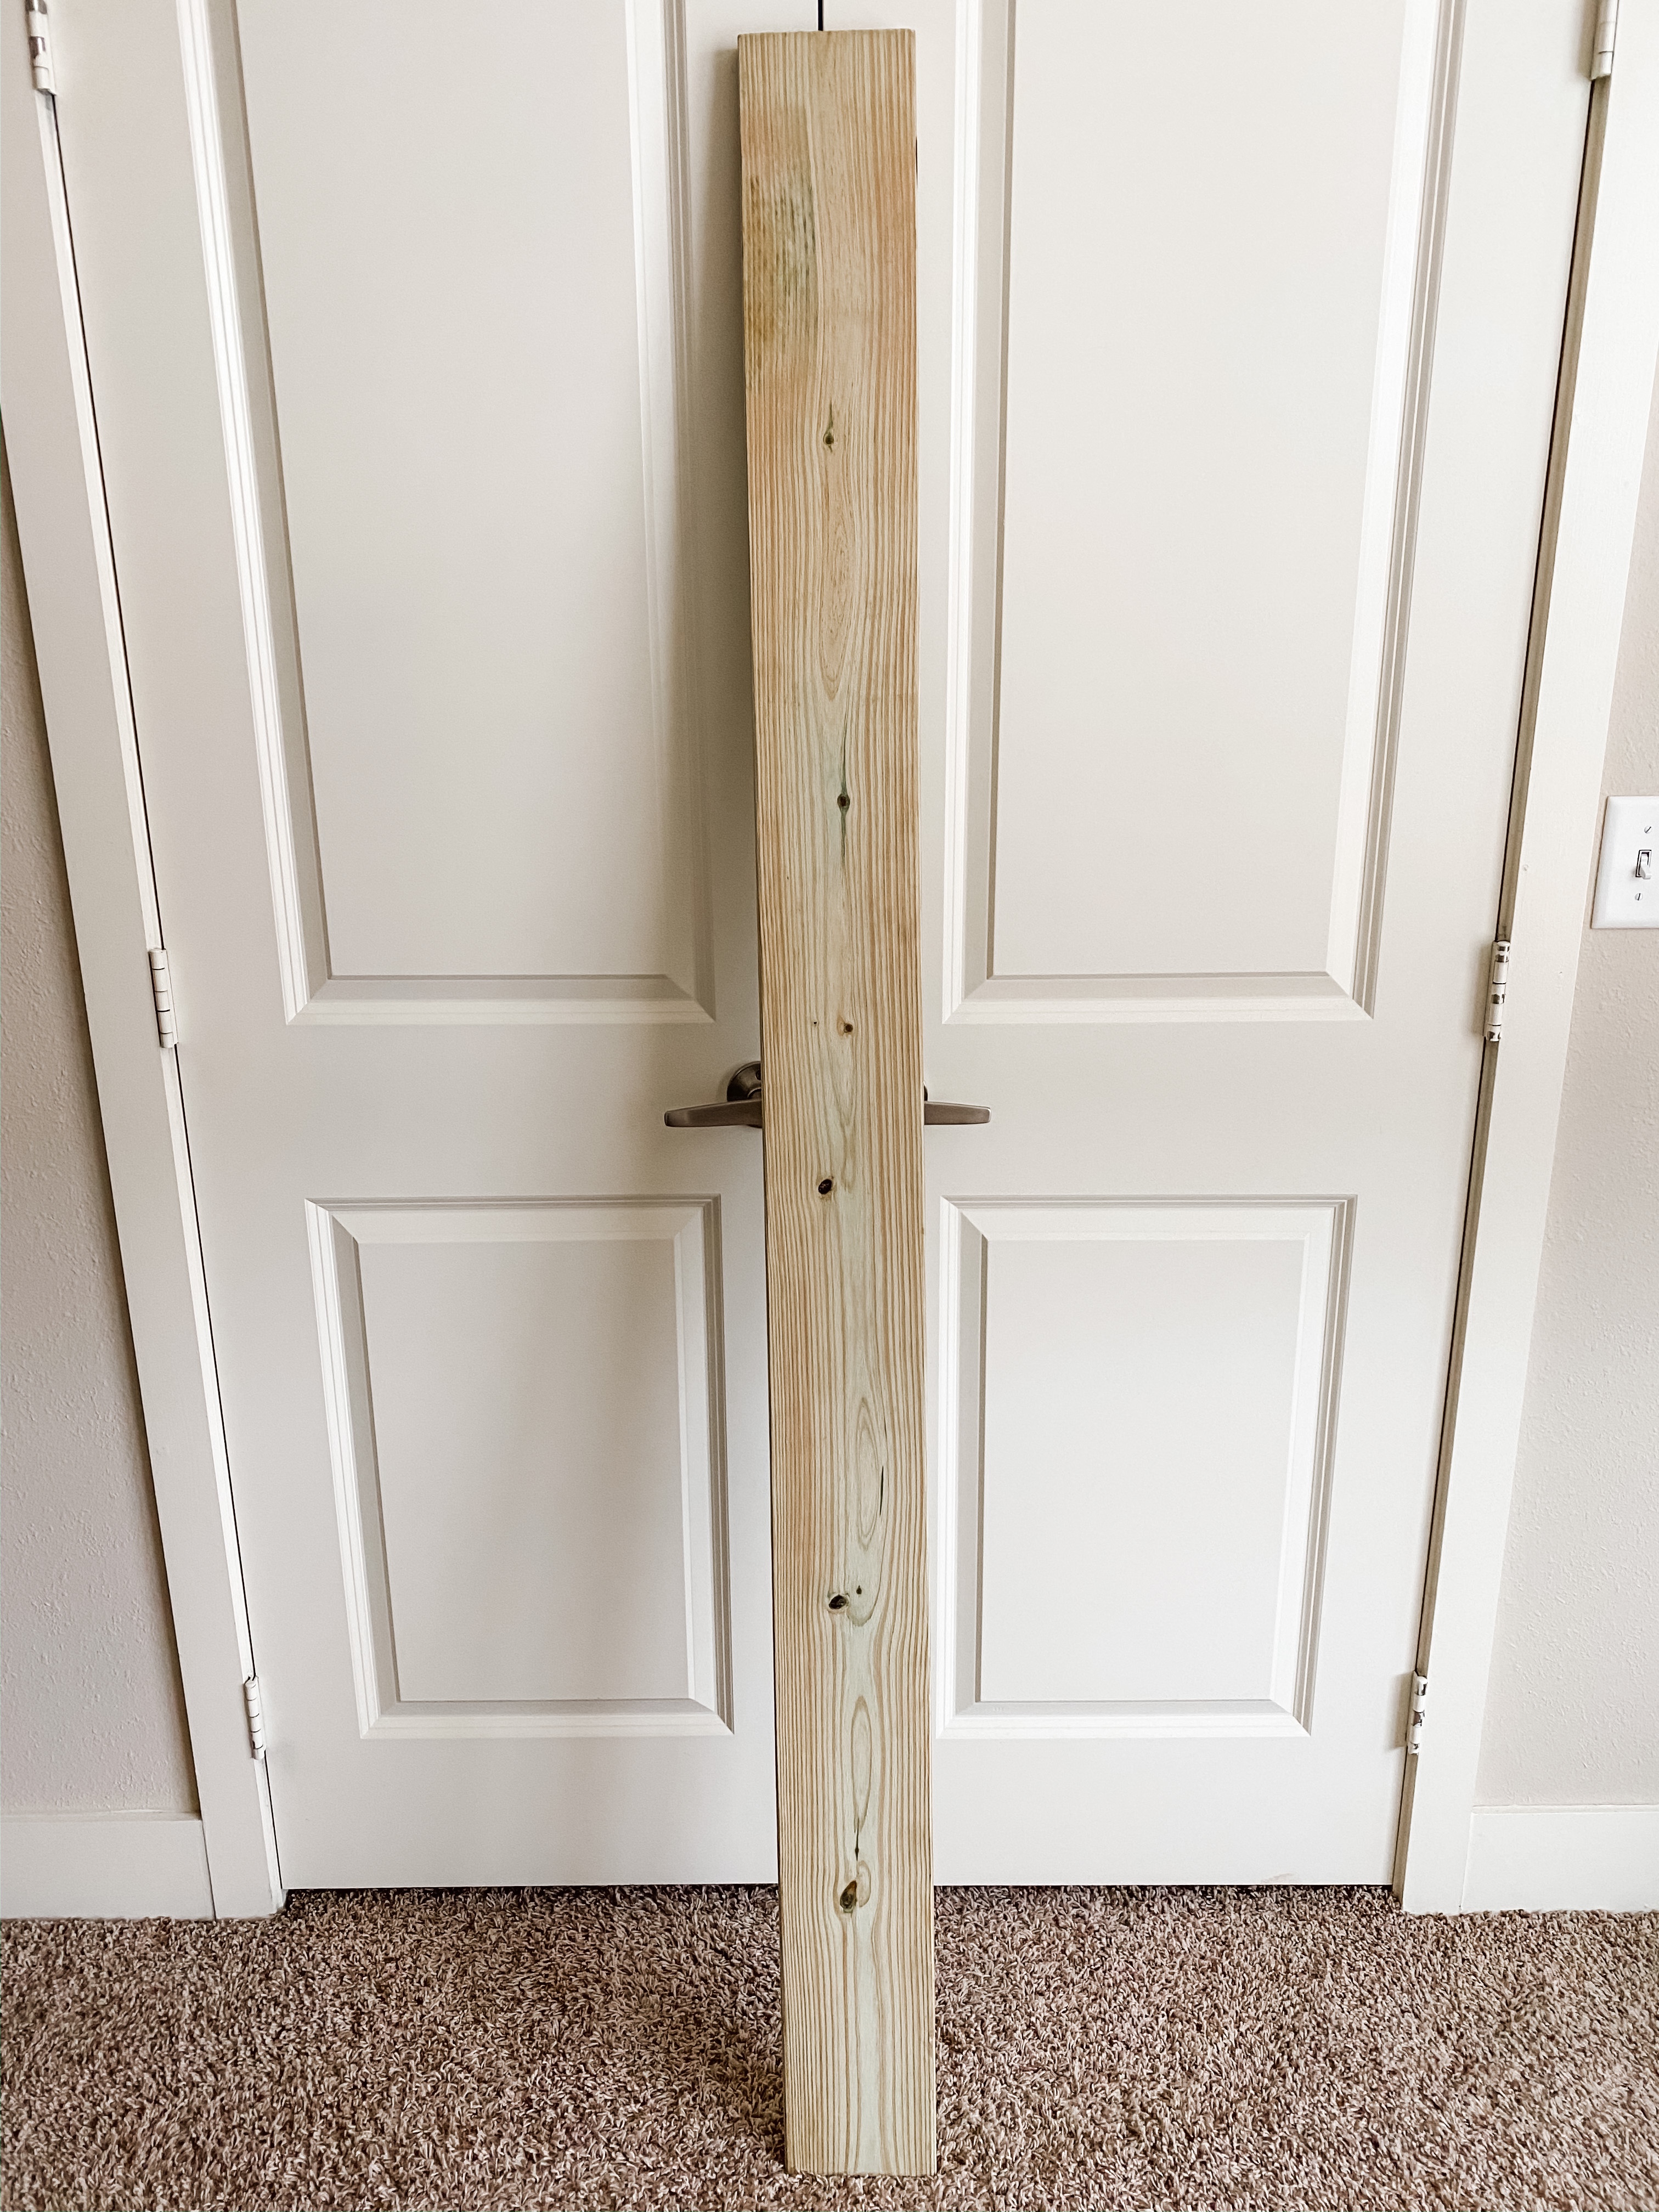
1 finished wood plank – I went with a finished cedar plank that measured 6 feet tall, 6 inches wide, and 1 inch thick from Home Depot.
Acrylic paints of your choosing – Michael’s has tubes of paint in a variety of colors. I chose a matte acrylic to ensure the finish wasn’t shiny or metallic. I chose a black and a white paint.
Brushes – 1 sponge brush to do the background color as it is a wider area, and 1 brush that allows you to cleanly complete finer straight edges
Stencils – Unless you are super skilled in painting or very confident in your ability to create the letters perfectly for your project, I highly recommend stencils.
Measuring tape – I didn’t realize I even needed one until I was starting my project and wanted to get the spacing on the letters just right. Math is not my favorite so even after measuring I had to go back and fix a mistake in the spacing at one point (thankfully the black paint made it a quick fix!).
Newspaper or an old sheet – Trust me, you want to have a safety net in case the paint splatters.
Cardboard or something equivalent to use as your paint palette – You don’t want to squirt the paint directly onto your board, especially when using your stencils, so use this to hold your paint and dip your brush into.
If you shop online or check your local paper, you are likely to find great deals and coupons for art supply stores such as Michael’s Craft as I did. I was able to get all of my supplies from them (minus the wood) for just over fifteen dollars given there was a 30% off available at the time. Then, Home Depot sold me the wood for under five bucks! Can’t beat that!
How to:


Before:
After:

That’s it! Super simple! I promise you, I am not the most handy person in the world and I made it work, so I know you can too!

[…] was easy and cost-friendly to do it myself instead of buying one from Etsy or Amazon, and I shared my How-To here. Don’t worry though! If you aren’t in the mood for a DIY, I have options to buy linked […]